
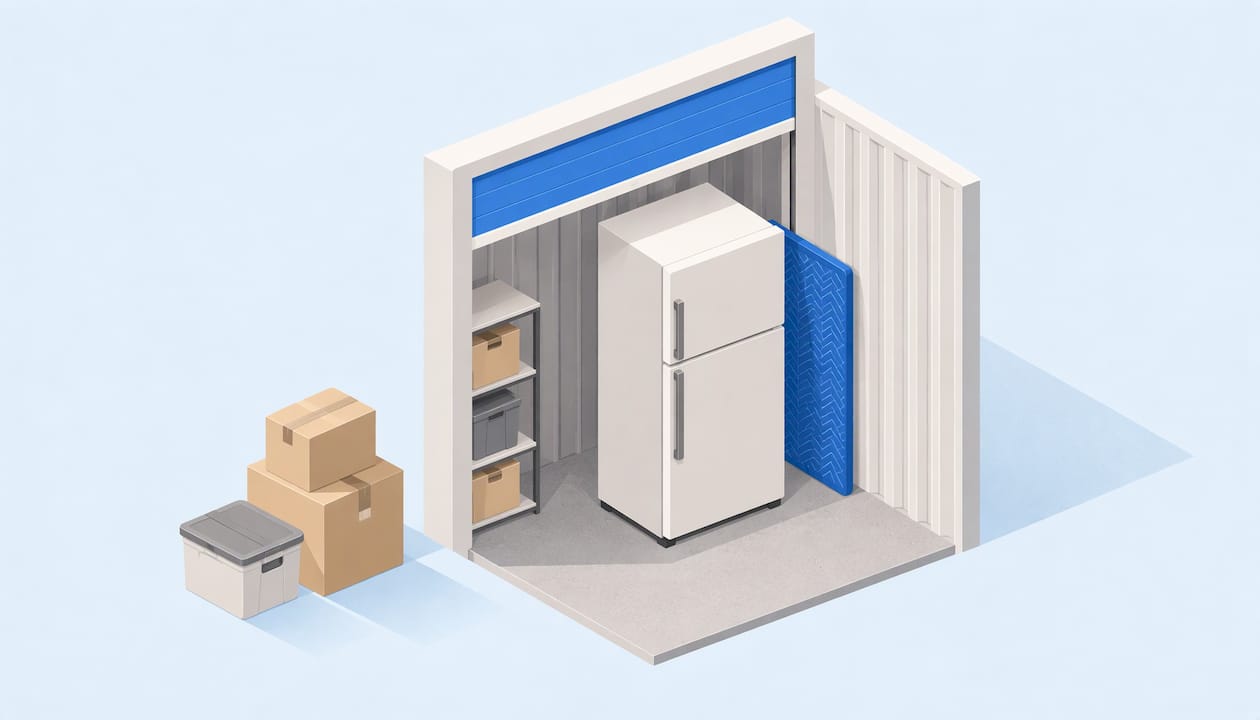
Store appliances clean, dry, unplugged and upright, with parts removed and cords secured, and give refrigerators doors-ajar airflow. Wrap each one in moving blankets, keep it off bare concrete, and skip any space that swings between extreme heat and cold. Do those things and a fridge, washer, range or stand mixer will come out of storage ready to work. This guide walks through each step, including the question we hear most: can you lay a fridge on its side?
TL;DR
- Clean, defrost and fully dry every appliance first. Moisture sealed in a closed box or a closed door is what causes odors and mold.
- Disconnect power, water and gas. Tape cords down, cap water lines, and have a qualified technician handle gas.
- Keep refrigerators upright. If one has been tilted or laid down, let it stand upright before plugging it in (the wait runs from a few hours to 24, depending on the manufacturer).
- Remove shelves, racks and attachments, label them, and pack them separately or pad them inside.
- Choose a space with steady temperatures. Whirlpool names climate-controlled storage as the best option for a stored refrigerator.
Table of Contents
- Before you store anything: a quick plan
- How to prepare a refrigerator or freezer
- Can you store a fridge on its side?
- Washers, dryers and dishwashers
- Ranges, stoves and ovens
- Small kitchen appliances
- Packing materials that earn their cost
- Should appliances go in climate-controlled storage?
- How to arrange appliances in the unit
- Bringing appliances back out
- Our perspective on appliance storage
- Which unit size fits your appliances?
- Store your appliances with Inline Storage
- FAQ
- Sources
Before you store anything: a quick plan
Appliances are heavy, awkward and full of parts that break easily: glass shelves, plastic bins, door gaskets, hoses, knobs. The good news is that damage in storage follows a pattern. This Old House describes the sequence: clean and dry, disconnect utilities, remove loose parts, secure moving components, then cushion the appliance.
Before you pick a day, work out three things:
- What you are storing. A full-size fridge, a washer and dryer pair, a range and a countertop collection of air fryers and mixers each need different prep and a different amount of floor space.
- How long it will stay. A few weeks during a renovation is simple. A whole summer or longer makes the cleaning and airflow steps matter more.
- How it will get there. You need a weight-rated dolly, straps and moving blankets for the large pieces. Do not try to improvise with a hand truck that is too small.
If you are also storing furniture, our guide to 10x10 vs 10x20 furniture storage for moves helps you size the whole load, not just the appliances.
How to prepare a refrigerator or freezer
The refrigerator is the appliance people get wrong most often, so start here. The steps below follow Whirlpool's U.S. product guidance for moving or storing a refrigerator.
- Empty it completely. Remove all food, including condiments and anything that can spoil or smell.
- Turn off the ice maker two to three days ahead if your fridge has one, and use up or dispense the remaining ice and water.
- Unplug it and let the freezer defrost with the doors open. Lay towels on the floor to catch meltwater. Expect a lot of it.
- Clean and dry every interior surface. Do not skip the door seals and the drawer tracks. A fridge closed up while damp is how a stored unit ends up smelling like a science project.
- Disconnect and cap the water line. Samsung's guidance also says to shut off the water supply and dispense any water left in the dispenser before moving a side-by-side model.
- Tape the unplugged power cord to the back of the refrigerator so it cannot drag or catch on the dolly.
- Remove or secure loose parts. Shelves, bins and glass pieces come out and are packed separately, or padded and secured in place.
Leave the doors ajar
Whirlpool says to secure refrigerator doors slightly open during storage so air can circulate. A common way to do this is a bungee cord or strap that holds the door off the seal, or a rolled towel wedged in the gap. Use something soft so it does not mark the gasket. For the move itself, you want the doors held shut so they do not swing. Then, once the fridge is in place, open them to the ajar position.
Protect the exterior
Wrap the cabinet in moving blankets and use corner guards on the edges. Whirlpool also advises a weight-rated dolly and straps, and the same page tells you to avoid extreme storage temperatures. Strapped blankets protect the finish from the unit's own walls and from the rest of your boxes.
Can you store a fridge on its side?
The safest answer is no: store and move it upright. The reason is the compressor. Samsung explains that tilting or vibrating a refrigerator can move compressor oil into the piping, which is why the unit has to stand upright before you connect it, for up to 24 hours depending on how it was positioned and for how long.
Sometimes a fridge has to travel on its side, because of a tight stairwell or a small truck. If that happens, treat the waiting period as part of the job. The manufacturers give different numbers:
| Manufacturer guidance | Wait upright before plugging in |
|---|---|
| An owner's guide hosted by P.C. Richard | At least 24 hours, so oil can return to the compressor |
| A Summit Appliance two-door refrigerator manual | At least four hours if transported horizontally |
| Samsung | Up to 24 hours, depending on position and duration |
The safe habit is to look in your own owner's manual and follow its number. If you cannot find it, the longer wait costs you nothing. Plugging in too early may damage internal parts, according to the owner's guide above.
The Summit manual adds two details worth knowing before you choose a spot. It says the refrigerator should not be used in a cold, unheated garage, shed or outdoor patio, and it needs adequate airflow around it. Both points apply when you set the fridge in storage and again when you bring it home.

Washers, dryers and dishwashers
Laundry appliances and dishwashers follow the same pattern: empty, clean, dry, disconnect, secure.
- Washers. This Old House recommends running a washer cleaning cycle before a move, then draining and disconnecting the water lines. After the final cycle, wipe the drum and the rubber door seal and leave the door or lid open so the inside can dry. Check your manual for transit bolts or shipping braces. Many front-loaders have a way to lock the drum for transport, and the manual shows how.
- Dryers. Clean the lint screen and the lint trap area. Coil the cord and secure it. Remove the exhaust hose from the wall and the dryer and store it with the machine.
- Dishwashers. Run a cleaning cycle, then take out the racks, and remove knobs and external hoses, as This Old House suggests. Small screws and bolts can go in a labeled zip bag taped to the appliance, which saves a frustrating search on reinstall day.
Again, keep doors open a crack or leave the lids up. A sealed, damp drum is an odor problem waiting for you.
Ranges, stoves and ovens
Grease and food residue are the problem here, both for odors and for pests. This Old House advises removing grease and food residue from ovens and stoves before a move. Take out the racks, wash them, and wipe the cooktop, burner pans and oven interior until they are dry.

The bigger issue is the fuel connection. For a gas range, This Old House recommends shutting off and disconnecting gas lines safely, preferably through a qualified technician. Do not disconnect a gas line yourself if you have never done it. An electric range only needs to be unplugged, with the cord coiled and secured against the back.
Wrap the finished range in a moving blanket. Tape the oven door shut or secure it with a strap for the trip, and tape the racks together in a bundle rather than leaving them loose inside.
Small kitchen appliances
Air fryers, stand mixers, coffee makers, toasters and blenders are the easy part, and the part that most often gets crushed under a heavier box. The research from several sources agrees on the method:
- Clean them. Empty toaster crumb trays, remove coffee grounds and wipe out residue. This Old House's guidance is to disassemble small appliances as much as possible and pack removable parts separately.
- Wrap fragile parts on their own. America's Test Kitchen suggests wrapping work bowls, blender shafts, whisks, coffee-carafe glass and microwave plates separately and keeping each appliance's parts together.
- Box them snugly. If you still have the original box, use it. If not, pick a box slightly larger than the appliance and fill the gaps with bubble wrap or crumpled packing paper.
- Secure cords. Bundle them with twist ties or painter's tape so they do not tangle or snag, and keep them with the appliance.
- Label the box with the appliance name and the parts inside, so you can find the one you need.
Put these boxes near the front of the unit so you can reach them. If you are packing a whole kitchen, the five-step guide to packing a storage unit shows how to stack, group and leave an aisle so nothing needs to be moved to get to something else.
Packing materials that earn their cost
You do not need to buy much. These matter most:
| Item | Used for |
|---|---|
| Moving blankets and corner guards | Large appliance exteriors |
| Weight-rated dolly and ratchet straps | Safely moving fridges, washers, ranges |
| Bubble wrap and packing paper | Small appliances and glass parts |
| Painter's tape or twist ties | Cords, doors, small parts |
| Zip bags and a marker | Screws, knobs and labels |
| Pallets or boards | Keeping large items off the floor |
Plastic stretch wrap on a large appliance can trap moisture against the finish, so use breathable blankets for the cabinet itself. Keep plastic for bundling parts. When you need to store other heavy equipment alongside appliances, the same logic holds, and this step-by-step equipment storage guide shows the same prepare, protect and position approach applied to large machines.
Should appliances go in climate-controlled storage?
For a refrigerator, Whirlpool's guidance identifies climate-controlled storage as the best choice, and it tells you to avoid extreme temperatures. That is the strongest manufacturer statement we found. A fridge's sealed system, its electronics, its gaskets and its plastic parts all do better when the space doesn't swing hot and cold.
In San Antonio, the question is practical. South Texas summers are long and humid, and humidity is what turns a closed-up appliance musty. Our guide to what needs climate-controlled storage in South Texas goes through the categories in detail, and our piece on climate-controlled storage and humidity explains what to look for in a climate-controlled space.
A simple way to decide:
- Choose climate-controlled for refrigerators and freezers, anything with electronics or a control board, and any appliance that will stay in storage through a Texas summer.
- A standard drive-up unit can work for short stays with a clean, dry, wrapped appliance that has its doors propped open, such as a range or a washer during a few weeks of renovation.
- Whatever you choose, keep appliances off the floor on pallets or boards and leave a gap from the walls for airflow.
How to arrange appliances in the unit
The order you load in determines how safe everything is and how easy it is to get out.
- Put the heavy appliances at the back, against the wall with a few inches of space for air.
- Stand them upright, doors ajar for the fridge, lids and doors open on washers and dryers.
- Stack nothing on top of a refrigerator or range. The cabinet tops are not shelves, and the finish dents.
- Keep the small appliance boxes at the front, labeled and visible.
- Leave an aisle so you can reach the back without moving anything.
- Keep parts near their appliance, such as the zip bag of screws taped to the machine.
A clean unit helps too. Before you load, sweep it out following our step-by-step guide to cleaning a storage unit, because dust and debris on the floor end up inside open doors and drums.
Bringing appliances back out
When the appliance comes home, reverse the process carefully:
- Let the refrigerator stand upright for the time your manual specifies before plugging it in, especially if it was ever tilted.
- Wipe down the interior, reinstall the shelves and bins, and reconnect the water line.
- Give it time to cool before you load it with food. Check the manual for the guidance on that.
- Run an empty cycle on the washer and dishwasher to flush out anything that settled.
- Have the gas range reconnected by a qualified technician.
Our perspective on appliance storage
We see the same mistakes every time someone stores a refrigerator or washer. The appliance goes in damp, the door gets shut, and weeks later the owner opens it to a smell that won't go away. Clean, dry and airflow solve nearly all of it.
That is why we think the space matters as much as the prep. Our South San Antonio facility offers climate-controlled units, a range of sizes from lockers and 5x5 units up to 10x30, and drive-up access, so you can roll a dolly right to the door instead of carrying a fridge through a hallway. Gated access and video surveillance keep the property secure while your appliances wait.
Our month-to-month leases are designed for the way appliance storage usually happens: a renovation that runs long, a move with a gap between closings, a summer away. You can rent online with Touchless Rentals™, and you don't have to commit to a long term.
Ian
Which unit size fits your appliances?
Sizes depend on what else is going in with them. These are general fits, so measure your own items before you decide:
- Locker or 5x5: a handful of boxed small appliances and a few other items.
- 5x10: one or two large appliances, such as a fridge and a washer, with room for boxes if you stack carefully. Our guide to small apartment storage can help you choose between a 5x5 and a 5x10.
- 10x10 and 10x15: a full set of kitchen and laundry appliances plus furniture from a room.
- 10x20 and 10x30: a whole-home move or a major renovation, with appliances, furniture and boxes.
A fridge needs the standing floor space and the height, so measure the height of the door opening and the unit ceiling as well as the footprint.
Store your appliances with Inline Storage
If you are storing a refrigerator, washer, range or a kitchen's worth of small appliances in San Antonio, we can match you with a unit that fits. Our self-storage units in South San Antonio range from lockers to 10x30 spaces, climate-controlled options are available, and you can rent online or at our 24-hour kiosk. Take a look at the contactless self-storage kiosk or start at inlinestorage.com to pick your size.

Ask about current promotions when you reserve, and check unit availability and pricing on our site.
FAQ
Can you store a fridge on its side?
It is best to keep it upright. Tilting a fridge can move compressor oil into the piping, so if it has to travel on its side, stand it upright before plugging it in. Manufacturer guidance varies from at least four hours to at least 24 hours, so follow your own manual and choose the longer wait if unsure.
Should I leave the fridge door open in storage?
Secure it slightly ajar, not wide open. Whirlpool's guidance says to hold refrigerator doors ajar during storage to promote airflow. Use a soft strap or a rolled towel so the gasket is not creased.
How do I store small kitchen appliances?
Clean them, empty crumb trays and grounds, and take off removable parts. Wrap fragile pieces separately, bundle the cords, and pack each appliance in its original box or a snug box with padding. Keep the parts with the appliance and label the box.
Do appliances need climate-controlled storage?
For refrigerators, Whirlpool says climate-controlled storage is best and advises avoiding extreme temperatures. In San Antonio's hot, humid summers, that is the safer choice for any appliance staying more than a few weeks, especially one with electronics.
Can I store a gas stove myself?
You can store it, but a qualified technician should shut off and disconnect the gas line, as This Old House advises. Never cap or disconnect gas yourself without the right training.
Sources
- Preparing for Vacation or Moving, Whirlpool
- Tips for Moving Your Appliances, This Old House
- How To Transport The Side By Side Refrigerator, Samsung
- Owner's Guide & Service Manual, hosted by P.C. Richard
- Two-Door Refrigerator with Bottom Freezer manual, Summit Appliance
- How to pack kitchen items when moving, America's Test Kitchen
- Almacenamiento de reformers en bodega: guía paso a paso